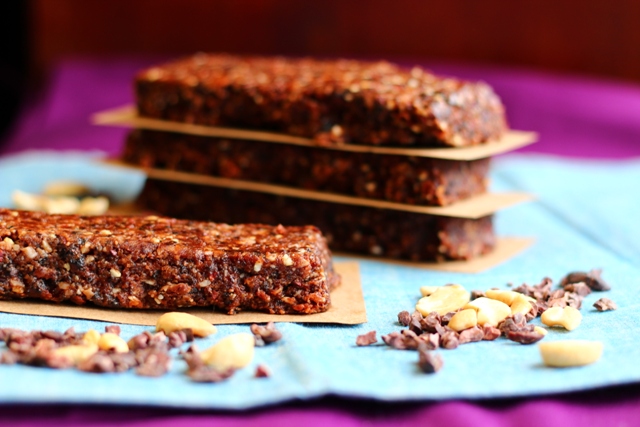
These bars are sweet, but not too sweet, are full of rich flavors, and they travel well. If you’re headed out on a trip and are looking for something delicious, vegan, raw, and sustaining, these bars are just the thing. I generally like to eat bars when I’m on the move — either travelling, going to school, or when I’m going to be out and about all day long. When I just want something easy and quick to eat without a lot of fuss. When travelling, I find that airports are nightmarish when it comes to eating vegan *and* raw — if you’re lucky you can find a banana or an apple or a salad (though a lot of the prepackaged salads have cheese). In any case, I no longer like to leave it to chance when I’m travelling to find something that I can eat. Enter the chocolate cherry bar. As always, you can adjust the ingredients in these bars depending on what ingredients you have around.
A note about chocolate: An enormous amount of the chocolate sold in the world is produced under conditions where adults and children are enslaved and work under extremely bad labor conditions. Food Empowerment Project has a project where they have researched where many chocolate companies source their chocolate. Here is their list of results from this research. For this recipe, and in general, I use Navitas Natural raw cacao powder and cacao nibs. Navitas Naturals is on FEP’s list that they feel comfortable recommending.
The Recipe
Makes one 9×5 pan of bars
1 cup unsweetened dried cherries
1 cup dried dates, pitted
1/4 cup hemp seeds
1/2 cup unsweetened coconut (shredded or flakes)
1/2 cup raw cashews
1/2 cup walnuts
2 Tbls raw cacao (or unsweetened cocoa powder)
1/4 cup cacao nibs
~1 Tbls water, if you need it
Add all ingredients except water to the food processor. Process until it starts to hold together. You want the consistency to be moldable, but not sticky. If the mixture is too dry, add a small amount of water and process to incorporate. When the mixture holds together nicely, press into bread pan. You can line the pan with parchment or wax paper for ease of removal. Alternatively, you can shape these into balls or press them into cupcake papers in muffin tins. Refrigerate to let it set a bit and then cut into bars. These can be wrapped in wax paper or containers for travel. I would recommend storing them in the fridge when you are not travelling with them.
 Follow

Katie, this looks wonderful, I am excited to make it soon! Do you mean 1/4 cup cacao nibs?
Thanks, Yifat. You’re absolutely right — I forgot the ‘cup’ in that line. I’m adding it now. Thanks for the correction. 🙂
Holy moly these were so delicious! (i had a few leftover crumbs) These would be a great hiking snack.